Making a 16th-Century Painting Canvas
Table of Contents
Date and Time:
2016.2.15, 12:00pm
Location: Making and Knowing LabSubject: Sewing the canvas
- Begin with an approximately 1' square of canvas, a piece of cotton twine that is a few inches longer than the perimeter of the canvas, and a large scrap piece of canvas (a longer strip - at least 8" or so is better, but it can be as narrow as 3").
- Fold over each edge of the canvas about 3/4"
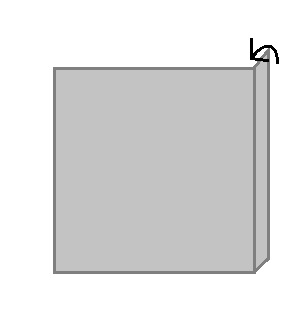
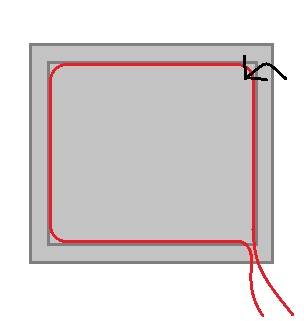
- Lay the twine against the raw edge and fold again, the same amount - the twine will be sitting inside of a smaller square of canvas, just at the edge. Secure the folds with pins, and leave the tails of the twine hanging (do not tie them).
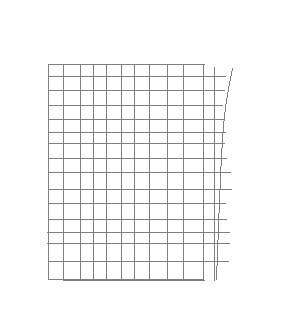
- Take the scrap piece of canvas and pull threads from the long side. Start with a good pile of threads.
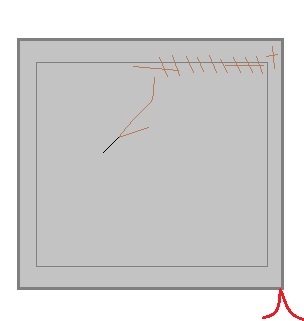
- Using the scrap threads, sew down the hem of the canvas using a whip stich
- thread the needle, leaving a tail of at least an inch
- enter the fabric with the hem edge facing you, just below the hem, pushing the needle into the fabric (rather than beginning the stich blindly from the back side)
- pull the thread through, leaving about 1" of thread, then re-enter the fabric just above the hem edge from the back side
- pull the thread through until it is taught, but be careful not to pull it so tightly that it breaks
- take the 1" of thread that you left hanging and lay it along the hem edge - as you sew, wrap your stiches around this thread to secure it
- when your thread runs out or breaks, thread a new one, twist the tails of the old and new, and continue as before
- as you move around the canvas, put a few stitches into the corners where the folds overlap, so that they lay flat
Name: Robin Reich
Date and Time:
2016.2.16, 9:30pm
Location: Robin's homeSubject: Constructing the frame and stretching the canvas
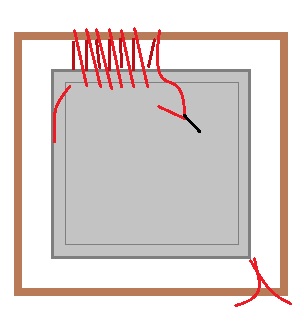
- piece together a wooden artist's frame that is slightly larger (2" or so) on each side than your finished canvas
- cut 4 pieces of twine, each one roughly 10x the length of one side of the canvas
- using a yarn needle, sew the canvas to the frame, one side at a time
- as before, thread the needle with 1" or so of a tail
- enter the canvas from either side, just below the hem stitches, starting from the corner
- loop the twine around the top of the frame, leaving at least 1" between the canvas and the frame
- re-enter the canvas from the other side, no more than 1" from your last entry point, but preferably closer together - roughly 1/3" apart (this is helpful on a smaller canvas to ease the tension on each entry point and to make the stretching more uniform, but on a larger canvas the entry points can be farther apart)
- when you reach the other corner, remove the needle and knot the tail ends of the twine to the nearest loop
- repeat on the side across from the first one, so that the canvas will be stretched evenly across the frame - do not worry about the canvas being taught at this stage
- tighten the twine around the edge of the frame by pulling each loop and re-tying the knot at each end, again alternating sides, until the canvas is stretched across the frame with no visible slack and it makes a slight reverberating sound when struck
- tie the tail ends of the twine that come from inside the canvas to the frame as well - do this securely, but not as tightly as possible
- trim the tails of the twine
Name: Robin Reich
Date and Time:
2016.2.19, 10:00am
Location: Making and Knowing LabSubject: Priming the Canvas with Rabbit Skin Glue
- Heat the rabbit skin glue to between 50 and 55* C in a double boiler or bain marie
- make sure not to leave any concentrated or less saturated areas of glue
- paint in any direction, but after you have laid down the glue layer, go over it again in a different direction
- leave the canvas to dry for 30 minutes in a well-ventilated place, such as a fume hood
- lay on a second layer of glue as before, and allow to dry again